
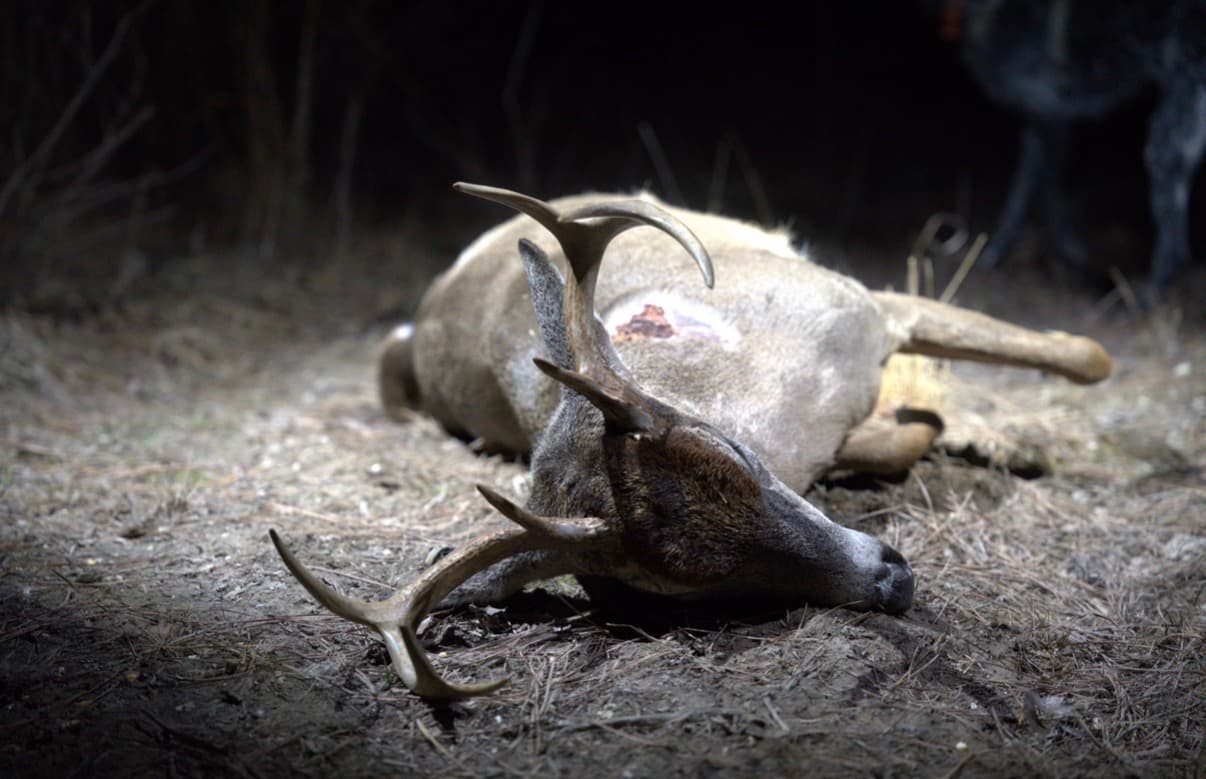
Every experienced hunter knows a hard truth: the quality of your wild game is mostly determined before you ever turn on the stove. How you handle an animal in the minutes and hours after the shot has more impact on flavor and tenderness than any recipe.
Here's the workflow that separates great wild game from the "gamey" meat that gives it a bad name.
1. A clean, ethical shot
It starts with shot placement. A quick, clean harvest means less adrenaline and stress hormones in the meat and less bloodshot, damaged tissue to trim away. Recover the animal promptly.
2. Field dress quickly and cleanly
Time and cleanliness are everything:
- Field dress as soon as possible to start cooling the carcass.
- Avoid puncturing the guts, bladder, and stomach - their contents are the fastest route to off-flavors.
- Remove the tenderloins early from inside the cavity so they don't dry out or spoil.
- Keep hair, dirt, and debris off the meat.
3. Cool it down fast
Heat is the enemy. Bacteria multiply in warm meat, and a carcass that stays warm sours and toughens.
- Get the hide off to release body heat (in warm weather especially).
- Prop the cavity open for airflow.
- On warm days, get the meat on ice or into a cooler quickly. Keep drain water flowing so meat isn't sitting in bloody water.
- Aim to get the internal temperature down toward 40°F as soon as you reasonably can.
4. Age the meat (when you can)
If temperatures allow, age the carcass or quarters at 34–40°F for several days. Aging lets natural enzymes tenderize the meat and mellow its flavor. The same principle behind dry-aged beef. Even a few days makes a noticeable difference. If you can't control temperature, process and freeze promptly instead.
5. Trim ruthlessly during processing
When you break the animal down:
- Remove all fat, silver skin, and connective tissue from the cuts. Deer fat in particular turns waxy and bitter.
- Trim away any bloodshot or damaged meat.
- Separate cuts by intended use: steaks, roasts, braising cuts, and grind.
6. Package and freeze properly
- Vacuum-seal whenever possible. It's the best defense against freezer burn.
- If wrapping, use a tight double layer of freezer paper.
- Label everything with the cut and date. I can not tell you how many times, I vacuum sealed meat thinking "I will remember this is..." later to open meat that was not what I thought.
- Freeze in meal-sized portions so you only thaw what you need.
7. Then cook it
By the time meat reaches your kitchen clean, cooled, aged, and well-trimmed, cooking is the easy part: don't overcook lean cuts, add back some fat, and slice against the grain.
The bottom line
Speed, cleanliness, and cold are the three pillars of great wild game. Respect the animal and the process from the moment of the shot, and your reward is clean-tasting, tender meat all year long.